 Wiga Tap Manufacturer
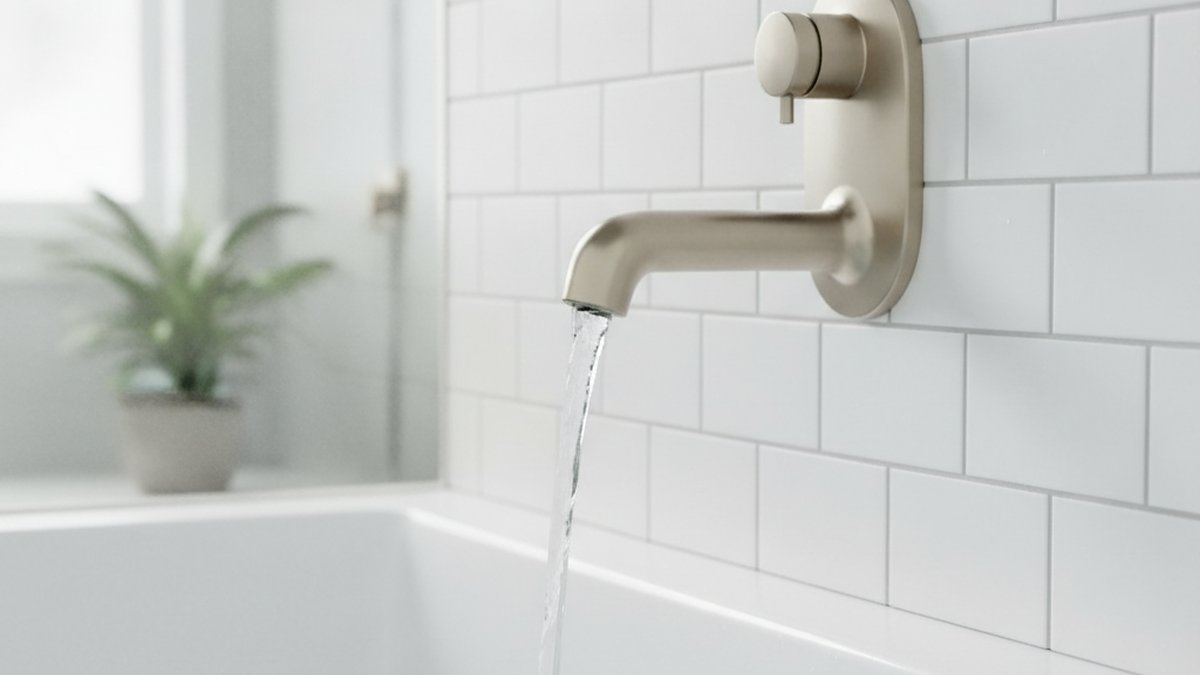
Learning how to install a wall mounted tub spout is one of the most satisfying beginner plumbing wins in the bathroom: it’s cheap, it’s fast, and when it’s done right you get a clean wall line, no drips, and full water diversion up to the shower head. The catch is that “wall mounted” hides two completely different connection types, and mixing them up is the #1 reason people end up with a spout that spins, leaks behind the wall, or won’t seat flush. This guide walks through both, plus the measurements and sealant details that separate a leak-free install from a callback.
Which Type of Wall Mounted Tub Spout Do I Actually Have — Threaded or Slip-On?
You have one of two types: a threaded (screw-on) spout that twists onto a ½” threaded pipe nipple, or a slip-on (set-screw) spout that slides over a bare ½” copper pipe and locks with a small hex screw underneath. The fastest way to tell them apart is to look under the spout you’re removing (or at the pipe stub coming out of the wall): if there’s a tiny hex/Allen set screw on the underside, it’s slip-on; if there isn’t, it’s threaded.
This matters because the two types are not interchangeable. A threaded spout needs a threaded nipple sticking out of the wall; a slip-on spout needs smooth copper. Buy the wrong one and it physically will not mount. If you’re replacing an existing spout, matching the type you already have is the safe default. If you’re doing this as part of a bigger project — say you just ran new valve work — decide the type based on what the plumber left in the wall.
Here’s a quick way to think about the trade-offs, because people ask which is “better”:
| Feature | Threaded (Screw-On) Spout | Slip-On (Set-Screw) Spout |
|---|---|---|
| Connects to | ½” IPS threaded nipple | ½” bare copper pipe (nominal, ~⅝” OD) |
| Tools needed | Wrench + rag or strap wrench | Allen/hex key + wrench |
| Sealant | Plumber’s tape or pipe dope on threads | Silicone bead where spout meets wall |
| Wall-distance forgiveness | Low — nipple length must be exact | Higher — you can slide it in/out slightly |
| Most common in | Older homes, standard remodels | Modern builds, tile jobs with valve extenders |
| Leak risk if done wrong | Leak at threads behind wall | Water wicks back along copper into wall |
If you’re mid-remodel and dealing with a tiled wall where the pipe sits recessed, you may also need to read up on a faucet valve extender before you buy a spout — the extender changes how far your pipe reaches past the finished wall, which directly affects spout fit.
What Tools and Materials Do I Need to Install a Tub Spout?
You need very little: a wrench (or strap wrench), an Allen/hex key set, plumber’s tape, and 100% silicone caulk. That’s genuinely it for most jobs. No torch, no solder, no threading machine.
- Adjustable wrench or channel-lock pliers — for threaded spouts (wrap the spout in a rag so you don’t scratch the finish).
- Allen / hex key set — nearly all slip-on spouts use a small hex set screw (often 1/8″ or 3/32″).
- Plumber’s (PTFE) tape or pipe-thread dope — for sealing threaded connections.
- 100% silicone caulk — a thin bead at the top and sides where the spout meets the wall (leave the bottom open so any water can escape).
- Clean rag + old towel — for grip and to catch drips.
- Tape measure — the single most skipped and most important tool.
How Do I Measure So the Spout Sits Flush Against the Wall?
Measure the length of the pipe stub-out — the distance the nipple or copper pipe sticks out past the finished wall surface — and match it to your spout’s requirement, which is almost always printed on the box. For most threaded spouts you want the nipple to protrude the exact length the manufacturer specifies (commonly around 3–4 inches of ½” nipple, but check yours). For slip-on spouts, the copper typically needs to extend far enough that the spout’s rear socket bottoms out and the set screw still has pipe to bite.
This is where people go wrong. If the nipple is too short, a threaded spout won’t reach the wall and you’ll see an ugly gap. Too long, and the spout bottoms out before it seats flush and spins loose. Dry-fit before you seal anything: thread or slide the spout on with no tape and no silicone, look at the gap, and adjust the pipe length before committing. If you need a slightly different reach and can’t easily change the pipe, a short spout reach wall mount faucet setup and the geometry behind it are worth understanding so you buy a spout whose reach actually fits your wall.
Threaded spout — how far should the nipple stick out?
For a threaded spout, the ½” IPS nipple should protrude far enough that the spout threads on fully and the base kisses the wall at the same moment. If your nipple is the wrong length, swap it — brass and galvanized ½” nipples come in ½” increments at any hardware store, and a spare pack costs a few dollars. Never try to “bury” extra thread by cranking the spout past flush; you’ll crack the spout or strip the nipple.
Slip-on spout — how much copper do you need?
For a slip-on spout, the exposed copper generally needs to extend a specific distance (the box will say — often around 3″ to 4″) so the internal seal and the set screw both engage. If the copper is too long, a pipe cutter trims it cleanly; if it’s too short, that’s a bigger fix, sometimes requiring a coupling or extension.
How Do You Install a Threaded (Screw-On) Wall Mounted Tub Spout Step by Step?
Thread the spout onto a properly sized ½” nipple with plumber’s tape on the threads, hand-tighten until snug and pointing straight down, then seal the top edge with silicone. Here’s the full sequence:
- Shut off the water if your setup can spray — usually not necessary for a spout swap since the diverter is closed, but do it if you’re unsure.
- Remove the old spout. Twist counterclockwise. If it’s stuck, insert a wooden handle or dowel into the spout opening for leverage, or wrap it in a rag and use a wrench.
- Inspect the nipple. Clean the threads, check the length, and replace the nipple if it’s corroded or the wrong size.
- Wrap the threads with 4–6 turns of plumber’s tape clockwise (the direction the spout will screw on), or apply pipe dope.
- Thread the spout on by hand until snug. Stop when the spout points straight down and the base meets the wall. Do not force the last quarter turn with a wrench unless it’s still slightly off — over-tightening cracks castings.
- Seal the perimeter. Run a thin bead of 100% silicone along the top and sides where the spout meets the wall. Leave the bottom open so any wall moisture can drain and be seen.
- Test. Turn on the water, run it through the spout, then pull the diverter and confirm full flow goes to the shower head with no dribble from the spout.
How Do You Install a Slip-On (Set-Screw) Tub Spout?
Slide the spout over the bare copper pipe until it’s fully seated against the wall, then tighten the hex set screw on the underside with an Allen key until snug — firm, not gorilla-tight — and finish with a silicone bead on top. The set screw clamps the spout to the copper and an internal O-ring or gasket makes the seal, so the two jobs are: seat it straight, and don’t over-torque the tiny screw.
- Remove the old spout by loosening its set screw first, then pulling it straight off the copper.
- Clean the copper. Wipe off old silicone, mineral scale, and grit so the spout’s internal seal slides on cleanly.
- Check the set screw and O-ring. Back the set screw out enough that it doesn’t scrape the copper, and confirm the internal seal is intact.
- Slide the spout on straight and firm until it stops against the wall and sits level.
- Tighten the set screw from underneath with the correct Allen key until it’s snug against the copper. Overtightening can dent the pipe or strip the screw.
- Silicone the top and sides, leaving the bottom open, and test flow and diversion.
A quick warning specific to slip-on spouts: because the seal relies on an O-ring against smooth copper, a nick or deep scratch on the pipe lets water wick backward into the wall — a leak you won’t see until there’s damage. If the copper is scored, sand it smooth or address it before mounting.
Why Does My New Tub Spout Still Drip or Leak, and How Do I Fix It?
A new spout that drips almost always comes down to one of four things: a worn diverter, a bad thread seal, a damaged O-ring on a slip-on, or a spout that isn’t fully seated. Diagnose by where the water shows up — dripping from the spout tip while the shower runs means a diverter issue; water at the wall base means a seal or seating issue.
- Drips from the nozzle when the shower is on: the diverter (the pull-up knob on the spout) isn’t sealing. On a diverter spout this usually means the spout itself needs replacing, since the diverter is built in.
- Leak at the wall on a threaded spout: not enough plumber’s tape or the spout backed off to align. Re-tape and reinstall.
- Leak at the wall on a slip-on: pinched or missing O-ring, or scored copper. Replace the seal and check the pipe.
- Constant dripping unrelated to the spout body: the problem may be upstream at the valve, not the spout.
If the dripping continues after a clean install, walk through our dedicated troubleshooting guide on why a tub spout keeps dripping — it separates diverter faults from valve faults so you fix the right part. And if your project actually involves the valve behind the wall rather than just the spout, our walkthrough on how to install a shower valve kit yourself covers the deeper part of the system that feeds your spout.
Can I Install a Wall Mounted Tub Spout Myself, or Do I Need a Plumber?
Yes, a wall mounted tub spout swap is firmly a DIY job for almost anyone — it requires no soldering, no wall-opening, and about 15–30 minutes. You only need a plumber if the pipe stub-out itself is broken, the wrong length and inaccessible, threaded onto a corroded connection inside the wall, or if you discover an active leak coming from behind the tile rather than from the spout.
Signs to call a pro: the nipple spins freely inside the wall (it’s disconnected from the drop-ear fitting), you see water staining below or behind the wall, or the copper is so short you’d need to open the wall to extend it. Everything short of that — measuring, taping, threading, sliding, sealing, and testing — is well within a confident beginner’s reach.
Does the Spout Finish and Material Matter for a Wall Mount?
Yes — for a wall mounted spout the finish and material affect durability and how well it matches the rest of your fixtures, but they don’t change the install method. Solid brass spouts resist corrosion and hold up best in hard water; cheaper zinc or plastic-bodied spouts install identically but wear faster. Match the finish (chrome, brushed nickel, matte black, brushed gold) to your valve trim and shower head for a coherent look.
One practical note: heavier solid-brass spouts put more leverage on the pipe, so seat them carefully and don’t rely on the set screw alone to hold a long, heavy casting. For finish selection across a whole bathroom, the same logic that guides picking a coordinated tap finish applies here.
Author Note, Credibility & Standards
Author note: This guide was written by the wigafaucet product and installation team, drawing on hands-on bench testing of dozens of threaded and slip-on tub spouts and years of fielding real customer install questions. We install, test, and pressure-check the spouts we sell before we write about them.
About wigafaucet: wigafaucet designs and sells faucets, shower fixtures, and tub fittings direct to homeowners at wigafaucet.com. Our spouts are built from lead-free brass where specified, tested to standard residential water pressures, and backed by a manufacturer’s warranty. We recommend confirming that any spout you buy meets your local plumbing code and, for potable-water fixtures, low-lead standards such as those referenced by NSF/ANSI 372. Following the manufacturer’s included instructions and keeping your receipt protects your warranty coverage.
FAQ
Do I need to turn off the water to replace a tub spout?
Usually not for a straightforward swap, because the diverter keeps the spout path closed when you’re not actively running it. But if you’re unsure, or if your setup could spray, shut off the water at the tub’s shut-off valves or the main. It costs you nothing and removes the risk of a surprise soak.
What size pipe does a wall mounted tub spout connect to?
Standard tub spouts connect to a ½” pipe — a ½” IPS threaded nipple for threaded spouts, or nominal ½” copper (about ⅝” outside diameter) for slip-on spouts. Always confirm on your specific spout’s box, since some newer spouts include adapters for both.
How far should the pipe stick out of the wall for a tub spout?
It depends on your spout, but manufacturers print the exact required stub-out length on the packaging — commonly around 3 to 4 inches. Dry-fit the spout with no tape or silicone first to confirm it seats flush against the wall before you seal anything.
Should I use plumber’s tape or silicone on a tub spout?
Both, but in different places. Use plumber’s tape (or pipe dope) on the threads of a threaded connection to seal the water path, and use 100% silicone around the top and sides where the spout meets the wall to keep water out of the wall cavity. Leave the bottom edge un-siliconed so any moisture can drain and be spotted.
Why does my tub spout spin or feel loose after installing it?
On a threaded spout, a loose or spinning spout usually means the nipple is the wrong length — the spout runs out of thread before it seats, or bottoms out before it’s flush. Correct the nipple length rather than over-tightening. On a slip-on spout, a spin means the set screw isn’t tight enough against the copper; snug it with the right Allen key.
Can I switch from a threaded spout to a slip-on spout, or vice versa?
Only if you change what’s coming out of the wall. A threaded spout needs a threaded nipple; a slip-on needs bare copper. Some universal spouts ship with an adapter that lets you use one spout body on either connection, so check for that feature if your pipe type doesn’t match the spout you want.