 Wiga Tap Manufacturer
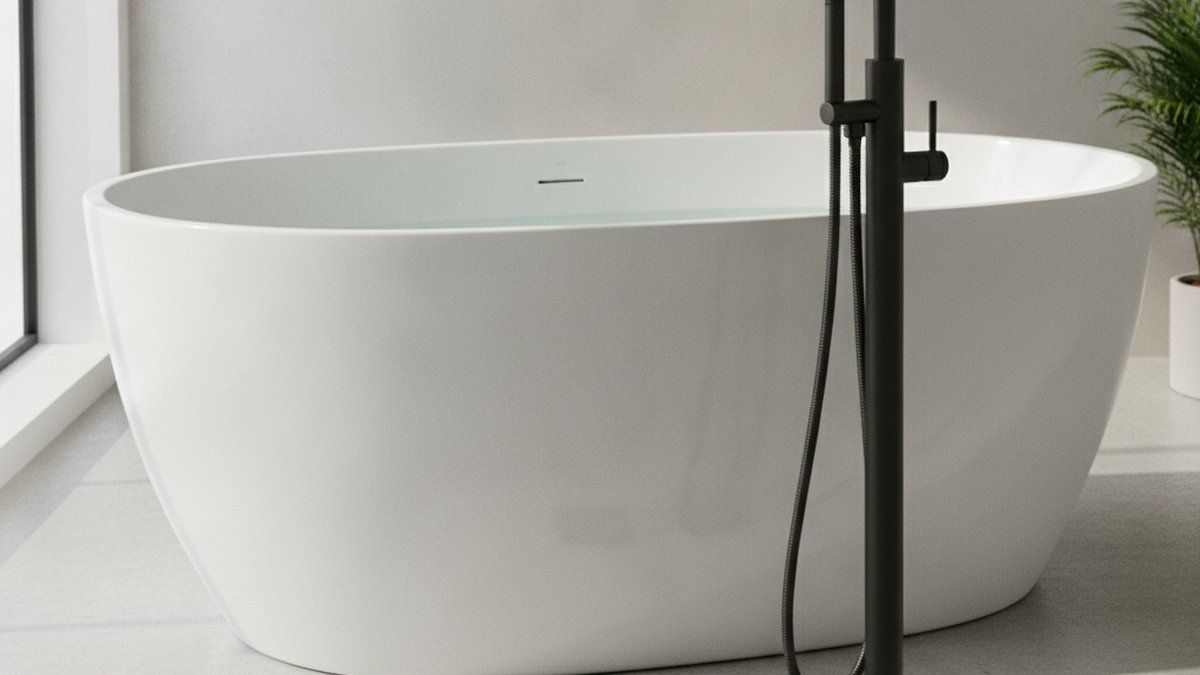
A freestanding tub faucet floor mount installation is the process of anchoring a tall, floor-standing tub filler to the bathroom subfloor, connecting it to hot and cold supply lines that rise through the floor, and sealing everything so it runs a full freestanding bathtub without a single drip. It’s one of the most rewarding fixture upgrades you can do — a floor-mount filler turns a plain soaker tub into the centerpiece of the room — but it’s also less forgiving than a deck-mount or wall-mount faucet, because everything hangs off one anchor point and every joint is under pressure. This guide walks you through exactly what’s involved, what it costs, what can go wrong, and how to pick a faucet that won’t wobble or weep in two years.
What Exactly Is a Freestanding Tub Faucet, and How Is It Different From a Regular Tub Filler?
A freestanding tub faucet is a tall, self-supporting faucet that rises from the floor (or occasionally the tub deck) and arcs over the rim of a freestanding bathtub — it does not attach to the tub or the wall at all. That’s the key difference: a standard tub filler mounts on the tub deck or the wall, so the plumbing hides behind tile or under the rim. A floor-mount freestanding filler stands alone on a supply pipe, so both the faucet and its connections are fully exposed and have to look good from every angle.
Because the whole faucet cantilevers off a single floor anchor, it experiences real leverage every time you push the handle or the diverter. That’s why floor-mount fillers use heavier bodies, thicker riser tubes (commonly 3/4″ instead of the 1/2″ you see on smaller faucets), and a substantial mounting bracket that bolts down through the finished floor into the subfloor or a blocking board. Get that anchor right and the faucet feels rock-solid; get it wrong and the faucet rocks, which eventually loosens the supply joints and starts a slow leak.
Can I Install a Freestanding Tub Faucet Myself, or Do I Need a Plumber?
You can install it yourself if — and this is the big “if” — your hot and cold supply lines already come up through the floor in the right spot, roughed in for a freestanding filler. In that case it’s an intermediate DIY job: expect 2 to 4 hours, basic hand tools, and some patience with thread sealant. You do not need to open walls or solder anything if the rough-in is already there and terminates in the correct fittings.
You do need a plumber if your supply currently comes out of a wall (a standard tub arrangement), because moving those lines into the floor means opening the subfloor, rerouting pipe, and often adding a shutoff and blocking — that’s licensed plumbing work in most areas and it’s easy to get wrong. Be honest about which situation you’re in before you buy anything.
- DIY-friendly: Floor rough-in already present, lines terminate at the correct height with a solid rough valve or supply stubs, subfloor is sound.
- Call a pro: No floor rough-in yet, supply comes from the wall, slab foundation with no access, or you’re not confident testing for leaks under pressure.
If part of your project is the valve or diverter side of things, it’s worth reading our companion walk-through on how to install a shower valve kit yourself — the sealing and pressure-testing habits carry straight over to a floor-mount filler.
What Tools and Rough-In Do I Actually Need Before I Start?
Before you touch the faucet, confirm three things: the supply lines rise through the floor at the correct spacing (most floor-mount fillers want the stubs centered under the mounting bracket), the water is shut off at the fixture stops or the main, and you have the right hardware. Here’s the short list that covers almost every floor-mount install.
- Adjustable wrench and a set of open-end wrenches
- Allen/hex keys (most brackets and set-screws use them)
- PTFE thread-seal tape and/or pipe-joint compound rated for potable water
- Silicone caulk (100% silicone, mildew-resistant) for the base
- A drill and masonry or wood bits sized for your anchor bolts
- A level, tape measure, and a bucket + towels for the inevitable drips during testing
- The manufacturer’s mounting bracket, riser tube, and supply hoses — use the ones in the box, not random substitutes
How Do You Install a Floor Mount Freestanding Tub Faucet Step by Step?
The core sequence is: shut off water, mount the bracket, attach the riser and faucet body, connect supplies, then pressure-test before sealing. Below is the reliable order that avoids the two most common mistakes — sealing the base before you’ve leak-tested, and over-tightening the compression fittings.
- Shut off the water at the fixture stops or the main, then open a lower faucet to relieve pressure.
- Dry-fit and mark. Set the faucet in place over the supply stubs, check it’s plumb with your level, and mark the bracket bolt holes.
- Anchor the mounting bracket. Drill and bolt the bracket into the subfloor or blocking. On a slab, use appropriate masonry anchors. The bracket must not flex — this is what keeps the faucet from rocking.
- Attach the riser tube and faucet body to the bracket per the manual, tightening set-screws evenly so the faucet stands truly vertical.
- Connect the supply hoses to the hot and cold stubs. Wrap male threads with PTFE tape (3-5 wraps, clockwise) or use joint compound. Hand-tighten, then snug about a quarter-turn with a wrench — do not gorilla it.
- Turn the water back on slowly and inspect every joint. Run hot and cold, work the diverter and handshower if fitted, and watch for weeping for a few minutes.
- Seal the base with a bead of silicone only after the leak test passes, leaving a small gap at the back so any future leak has somewhere to show itself instead of hiding under the floor.
One detail people miss: match your connection style. Some fillers connect the riser to the tub filler body while the tub itself is separate; the sealing discipline is the same one we cover in how to install a wall mounted tub spout without leaks, and it’s worth skimming that piece for the thread-sealing technique alone.
Floor Mount vs. Wall Mount vs. Deck Mount: Which Freestanding Tub Faucet Setup Is Right for Me?
Choose floor mount if your tub sits away from the wall and you want the dramatic standalone look; choose wall or deck mount if you want cheaper plumbing and a cleaner floor. The mounting style is really driven by where your tub sits and how your plumbing is roughed in, not just aesthetics. Here’s how they compare on the factors that actually affect your install and your wallet.
| Factor | Floor Mount | Wall Mount | Deck Mount |
|---|---|---|---|
| Best for | Standalone tub in the middle of the room | Tub against a wall | Tubs with a wide flat rim |
| Rough-in difficulty | High (lines through floor) | Medium (lines in wall) | Medium |
| Typical install time (DIY, rough-in done) | 2-4 hours | 1-2 hours | 1-2 hours |
| Faucet cost range | $150-$600+ | $90-$400 | $100-$450 |
| Wow factor | Highest | Moderate | Moderate |
| Leak visibility | Fully exposed (easy to spot) | Partly hidden | Partly hidden |
If you’re still deciding on your overall bathroom scheme, our guide on whether a brushed nickel tap mixer is the right choice is a helpful companion for matching finishes across the tub filler, basin, and shower.
What Finish and Material Should a Floor Mount Tub Filler Be?
For a floor-mount filler, prioritize a solid brass body with a quality plated finish — it resists corrosion at the exposed base far better than cheaper zinc alloy, and it carries the leverage load without fatiguing. Because the entire faucet is on display and the base sits right where splashed water pools, material quality matters more here than on a hidden wall-mount spout.
Matte black and brushed gold are the most-requested looks in 2026, with brushed nickel and chrome close behind for buyers who want something timeless. Whatever the color, look under the plating: a brass or high-grade stainless core is what you want, and it’s worth understanding the trade-offs in our breakdown of zinc alloy vs. stainless steel faucets before you commit, since the same logic applies to tub fillers. At wigafaucet, our floor-mount fillers use solid brass waterways and lead-free (NSF/ANSI 372 compliant) construction, tested to standard cycle counts on the diverter and handle before they ship.
How Much Does a Freestanding Tub Faucet Floor Mount Installation Cost in 2026?
Budget roughly $150-$600 for the faucet itself and $250-$800 in labor if you hire a plumber for the connection — more if the floor rough-in doesn’t exist yet and pipe has to be rerouted. If you do the install yourself on an existing rough-in, your only real cost is the faucet plus about $20-$40 in tape, silicone, and anchors.
The number that surprises people is the rough-in cost. Adding a floor rough-in where none exists — opening the subfloor, running new supply, adding shutoffs and blocking — commonly runs $500-$1,500 on its own, because it’s real plumbing labor, not fixture work. That’s why we keep hammering the point: know whether you have a floor rough-in before you fall in love with a floor-mount filler.
Why Is My New Floor Mount Tub Faucet Leaking or Wobbling?
Nine times out of ten a new floor-mount filler leaks because a supply connection wasn’t sealed or seated correctly, and it wobbles because the mounting bracket wasn’t anchored into something solid. Both are fixable, and both are easier to prevent than to chase after the fact.
For leaks, shut the water off, disconnect the weeping joint, re-tape or re-dope the threads, and re-seat it — often the culprit is a crossed thread or a compression nut that was cranked so hard it deformed the ferrule. For wobble, the bracket bolts either missed the blocking or the subfloor flexes; adding a plywood blocking board under the subfloor gives the anchor something real to bite into. A faucet that rocks will eventually leak, so fix the wobble even if it’s watertight today. If you later see persistent dripping from the spout itself rather than the joints, that’s usually a worn cartridge or diverter — the same failure pattern we diagnose in why a tub spout keeps dripping and how to fix it fast.
Author Note & Why You Can Trust This Guide
This guide was written by the wigafaucet product and installation team, drawing on hands-on bench testing of floor-mount fillers and years of fielding real installer questions. wigafaucet designs and sells faucets and bathroom fixtures direct to homeowners and contractors at wigafaucet.com; our floor-mount tub fillers are built with solid brass waterways, meet lead-free potable-water standards (NSF/ANSI 61 & 372), and are backed by a limited lifetime warranty on the finish and function of the faucet body. We test diverters and handles to rated cycle counts before a model ships, and every install recommendation here reflects the same steps we’d take in our own workshop.
FAQ
Do I need a special valve for a freestanding tub faucet floor mount installation?
Most floor-mount freestanding fillers include their own mixing valve inside the faucet body, so you don’t need a separate in-wall valve like you would for a shower. You just need clean hot and cold supply lines coming up through the floor. Always confirm what’s in the box against the spec sheet before you buy.
How far from the wall should a floor mount tub faucet be?
Position the faucet so the spout clears the tub rim and pours cleanly into the tub — typically a few inches from the tub’s edge, following the tub and faucet manufacturer’s stated clearance. Dry-fit before drilling: set the tub, set the faucet, and check the spout reach lands inside the tub, not on the rim.
Can I put a floor mount tub filler on a concrete slab?
Yes, but you’ll anchor the bracket with masonry anchors instead of wood screws, and the supply lines must be roughed into or under the slab — which is a much bigger job if they aren’t already there. On a slab with no existing rough-in, retrofitting a floor-mount filler often isn’t practical and a deck- or wall-mount option may make more sense.
What size supply lines do freestanding tub fillers use?
Most freestanding floor-mount fillers use 3/4″ supply connections to deliver the high flow that fills a big soaking tub quickly, though some smaller models use 1/2″. Check your faucet’s spec and match the supply stub size — using an undersized line is the top reason a freestanding tub fills slowly.
How long does it take to install a floor mount tub faucet?
With the floor rough-in already in place, plan on 2 to 4 hours for a careful DIY install including the leak test. If a plumber has to add the rough-in first, the whole project can stretch across a day or more depending on floor access.
Is a floor mount tub faucet worth it compared to a wall or deck mount?
If your tub stands alone in the room, a floor-mount filler is worth it for the look and is often the only style that fits. If your tub sits against a wall, a wall- or deck-mount faucet costs less to plumb and installs faster, so the floor-mount premium is harder to justify.