 Wiga Tap Manufacturer
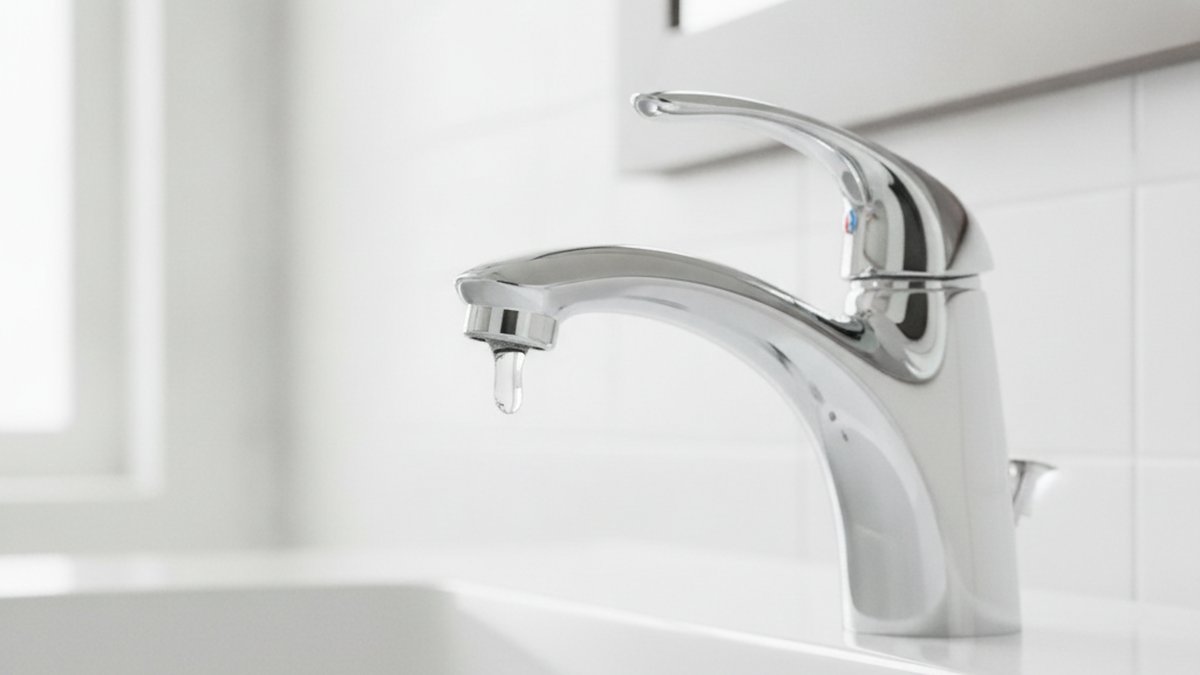
If you have a leaking American Standard bathroom faucet, start here: 9 times out of 10 the water is coming from a hardened O-ring, a worn ceramic disc cartridge, or a loose retaining nut — all cheap, replaceable parts. You rarely need a whole new faucet, and you almost never need a plumber. American Standard builds its bathroom faucets around ceramic-disc cartridges that are designed to be serviced, and the company backs most residential models with a limited lifetime warranty on the finish and function. So before you shop for a replacement, let’s diagnose exactly where your faucet is leaking and fix the real cause.
This guide walks through the three places these faucets leak, how to tell which one you’re dealing with, the exact repair steps, and when replacement genuinely makes more sense than repair. I’ve repaired hundreds of single-handle and widespread American Standard lav faucets, and the pattern is remarkably consistent.
Where exactly is my American Standard faucet leaking — the spout, the base, or under the sink?
The leak location tells you the part to replace. Water dripping from the spout tip means a bad cartridge or seat seal; water pooling around the base of the handle means a worn O-ring or escutcheon gasket; water under the sink means a loose supply connection or a cracked valve body. Pinpoint the location first — it saves you from buying the wrong part.
Here’s how to read your specific leak:
- Dripping from the spout when the handle is off: The ceramic disc cartridge or its rubber seat seals are worn. This is the single most common American Standard bathroom faucet leak.
- Water seeping around the base of the handle when you turn the water on: The O-ring around the cartridge or spout body has hardened and cracked.
- Puddle inside the vanity cabinet: Check the two supply-line connections and the mounting nuts. This is usually a loose compression nut or a failed supply hose, not the faucet itself.
- Leak only on hot or only on cold (two-handle/widespread models): You only need to service the one cartridge on the leaking side.
Knowing your faucet style matters too. American Standard bathroom faucets come as single-handle (one cartridge), centerset (handles and spout on a 4-inch base), and widespread (separate hot, cold, and spout, usually 8 inches apart). If you’re unsure which spread you have, our guide on what “widespread faucet spread” actually means helps you measure and identify your setup before you order parts.
What causes an American Standard bathroom faucet to leak in the first place?
The root cause is almost always a worn internal seal — the ceramic disc cartridge, an O-ring, or a rubber seat — degraded by years of water pressure, mineral buildup, and grit. American Standard faucets are well-made, but no internal seal lasts forever, especially in hard-water areas.
The four usual suspects, in order of how often I see them:
| Cause | Where it leaks | Typical fix | Part cost |
|---|---|---|---|
| Worn ceramic disc cartridge | Spout drip, on/off both temps | Replace cartridge | $12–$35 |
| Cracked / hardened O-ring | Base of handle or spout | Replace O-ring kit | $5–$12 |
| Worn rubber seat & spring | Steady spout drip | Replace seats/springs | $5–$10 |
| Loose supply/compression nut | Under-sink puddle | Tighten or replace hose | $0–$15 |
Hard water is the accelerator behind all of these. Calcium and magnesium deposits build up on the ceramic discs and around the O-rings, creating tiny gaps that let water sneak past. If your home has hard water, expect to service a bathroom faucet every 5–8 years rather than every 15. Grit and sediment from municipal lines also scratch the polished ceramic discs, which is why flushing the lines after any plumbing work matters.
How do I fix a dripping American Standard bathroom faucet myself? (Step-by-step)
You can fix most leaks in 30–60 minutes with an adjustable wrench, an Allen key, a Phillips screwdriver, and a replacement cartridge or O-ring kit. Here’s the exact sequence I use on single-handle models — the most common leaking American Standard bathroom faucet setup.
- Shut off the water. Turn both shutoff valves under the sink clockwise until they stop. Open the faucet to release pressure and confirm the water is truly off.
- Plug the drain. Drop in the stopper or a rag so no small screws or springs disappear down the drain.
- Remove the handle. Pry off the decorative cap on top or find the set screw at the back/base of the handle. Loosen it with the Allen key and lift the handle straight up.
- Remove the retaining nut and any cap. Under the handle you’ll find a dome cap and a brass or plastic retaining nut. Unscrew the nut counterclockwise with your wrench or pliers (wrap the jaws in tape to avoid scratching).
- Pull the cartridge. Grip the stem and pull straight up. Note its orientation — many American Standard cartridges have a flat or notch that must line up on reinstall, or hot and cold will be reversed.
- Inspect and replace. Look at the O-rings and the rubber seats at the bottom. If the O-rings are flattened or cracked, replace them. If the ceramic discs are pitted or the drip persists, replace the whole cartridge. Take the old part to the store or match the model number to order the exact replacement.
- Clean the valve body. Wipe out mineral scale with white vinegar on a rag. A clean seat helps the new seal sit flush.
- Reassemble in reverse. Seat the new cartridge in the correct orientation, hand-tighten the retaining nut, then snug it a quarter-turn with the wrench — don’t over-torque or you’ll crack the ceramic.
- Turn the water back on slowly and test. Open the shutoffs, run the faucet, and watch for drips at the spout and base for a minute or two.
If your faucet is an older cartridge-style model and you’d like to follow along with a similar visual walkthrough, our breakdown of a bathroom faucet cartridge replacement covers the same core steps and the mistakes people make when copying a video too literally — the mechanics carry over directly to American Standard cartridges.
What if the retaining nut or old faucet nut is rusted and stuck?
Soak it in penetrating oil for 15 minutes, then use a proper basin wrench or a six-point socket for grip — don’t force a rounded nut. Stuck and corroded nuts are the number-one reason a “quick” faucet repair turns into an afternoon. If the mounting nut under the sink is the one seized up, our detailed guide on how to remove an old faucet nut that’s rusted and stuck walks through penetrating oil, basin wrenches, and the heat-and-cut methods that actually work without cracking the sink.
Why does my American Standard faucet still drip after I replaced the cartridge?
If it still drips after a new cartridge, the culprit is usually a worn seat seal underneath, debris caught on the new disc, or a cartridge installed in the wrong orientation. A brand-new cartridge can’t seal against a pitted valve seat or a piece of grit.
Run through this checklist:
- Seat seals and springs: On models with removable rubber seats and springs at the bottom of the valve bore, replace those too. A new cartridge on old, flattened seats will keep weeping.
- Debris on the disc: Flush the lines. Open the shutoff into a bucket briefly before reinstalling, so grit doesn’t lodge on the fresh ceramic.
- Wrong orientation: If the cartridge notch isn’t aligned, the discs never fully close. Pull it and reseat it correctly.
- Wrong part number: A “close enough” universal cartridge often doesn’t seal in an American Standard body. Match the exact OEM cartridge.
- Over-tightened retaining nut: Cranking the nut too hard can crack the ceramic disc or distort the cartridge. Back it off and re-snug gently.
If the leak is coming from the flexible supply hose under the sink rather than the faucet body itself, that’s a different repair — the same principles we cover in why a faucet leaks from the flexible hose and how to fix it apply to bathroom lav faucets too: check the hex nut, the washer inside, and whether the braided line has a pinhole.
Should I repair or replace my leaking American Standard bathroom faucet?
Repair it if the faucet body is solid and only a seal has failed — that’s a $10–$35 fix. Replace it if the valve body is cracked, the finish is corroding and flaking, or you’ve already rebuilt it once and it’s leaking again within a year.
Here’s the honest decision framework:
| Situation | Best move | Why |
|---|---|---|
| Spout drip, faucet 3–10 years old | Repair (cartridge/O-ring) | Cheapest fix, faucet body is fine |
| Base leak, good finish | Repair (O-ring kit) | Seal replacement solves it |
| Cracked valve body or spout | Replace | No seal fixes a cracked casting |
| Finish flaking, corrosion pitting | Replace | Cosmetic damage won’t reverse |
| Rebuilt once, leaking again fast | Replace | Body wear beyond seals |
| Want new style/finish anyway | Replace | Good time to upgrade |
One more factor: your faucet’s material. A solid brass or stainless body is worth rebuilding; a lower-grade cast body that’s already corroding usually isn’t. If you’re weighing a replacement and want it to outlast the last one, our comparison of zinc alloy vs stainless steel faucets explains which materials survive years of daily use and hard water — and which ones you’ll be repairing again sooner than you’d like.
How much does it cost to fix vs. replace?
A DIY seal or cartridge repair runs $5–$35 in parts. A plumber’s service call for the same job is typically $125–$250. A mid-range replacement American Standard bathroom faucet runs $70–$200, plus installation if you don’t DIY. The math almost always favors trying the repair first — the part is cheap, and if it doesn’t work you’ve lost only an hour and a few dollars before moving to replacement.
How do I stop my American Standard faucet from leaking again?
Prevent repeat leaks by managing hard water, using genuine OEM parts, and not over-tightening handles. The faucet failed because a seal wore out — so protect the new seal.
- Ease up on the handle. Ceramic disc faucets need only a light touch to shut off. Cranking the handle hard grinds the discs and O-rings prematurely.
- Descale periodically. Wipe the spout and aerator with white vinegar every few months in hard-water homes to keep mineral scale from creeping into the valve.
- Use genuine American Standard cartridges and O-rings. Off-brand parts often use softer rubber that hardens faster and voids the warranty coverage.
- Flush after plumbing work. Any time the water main is shut and reopened, run the faucets a moment to clear grit before it scratches the discs.
- Register your warranty. American Standard’s residential limited lifetime warranty can cover replacement cartridges free — keep your model number and proof of purchase.
Follow those five habits and a rebuilt American Standard bathroom faucet will typically go another 5–10 years before it needs attention.
FAQ
Why is my American Standard bathroom faucet dripping when it’s turned off?
A drip with the handle fully off means the ceramic disc cartridge or the rubber seat seals have worn out and no longer close completely. Replacing the cartridge — and the seats and springs if your model has them — stops the drip. This is the most common leaking American Standard bathroom faucet complaint and usually a sub-$35 fix.
Are American Standard faucet cartridges universal?
No. American Standard uses several cartridge designs across its single-handle, centerset, and widespread lines, and they are not interchangeable with each other or with other brands. Match your exact faucet model number, or bring the old cartridge to the store, so the discs and stem length fit your valve body precisely.
Does American Standard’s warranty cover a leaking faucet?
Most American Standard residential bathroom faucets carry a limited lifetime warranty covering finish and function for the original owner, which typically includes free replacement cartridges and O-rings for a leaking faucet. Labor isn’t covered, but the parts often are. Have your model number and proof of purchase ready when you contact them.
Can I fix a leaking American Standard faucet without turning off the main water?
Yes — you only need to close the two shutoff valves under the sink, not the whole-house main. If those local valves are corroded or won’t fully close, then shut the main as a backup. Always open the faucet afterward to release residual pressure before you disassemble anything.
How long does it take to fix a leaking American Standard bathroom faucet?
For a confident DIYer, a cartridge or O-ring swap takes 30–60 minutes. Budget extra time if the retaining nut or mounting nut is corroded and needs penetrating oil, or if you have to make a trip to match the exact replacement part. The actual mechanical work is quick; sourcing the right part is what usually adds time.
What tools do I need to repair an American Standard bathroom faucet?
An adjustable wrench, a set of Allen (hex) keys, a Phillips screwdriver, tongue-and-groove pliers, plumber’s grease for the new O-rings, and white vinegar for descaling. For stuck under-sink nuts, add a basin wrench and penetrating oil. That’s the full kit for nearly every American Standard lav faucet repair.
About the author: This guide was written by the wigafaucet fixtures team, drawing on hands-on repair of hundreds of residential single-handle, centerset, and widespread bathroom faucets. wigafaucet designs and sells faucets and bathroom fixtures built to meet U.S. plumbing standards (including lead-free NSF/ANSI 372 compliance), and our repair guides are reviewed against manufacturer service specs and real-world warranty procedures. When we recommend a repair-first approach, it’s because we’ve watched these exact parts fail and get fixed for a few dollars.