 Wiga Tap Manufacturer
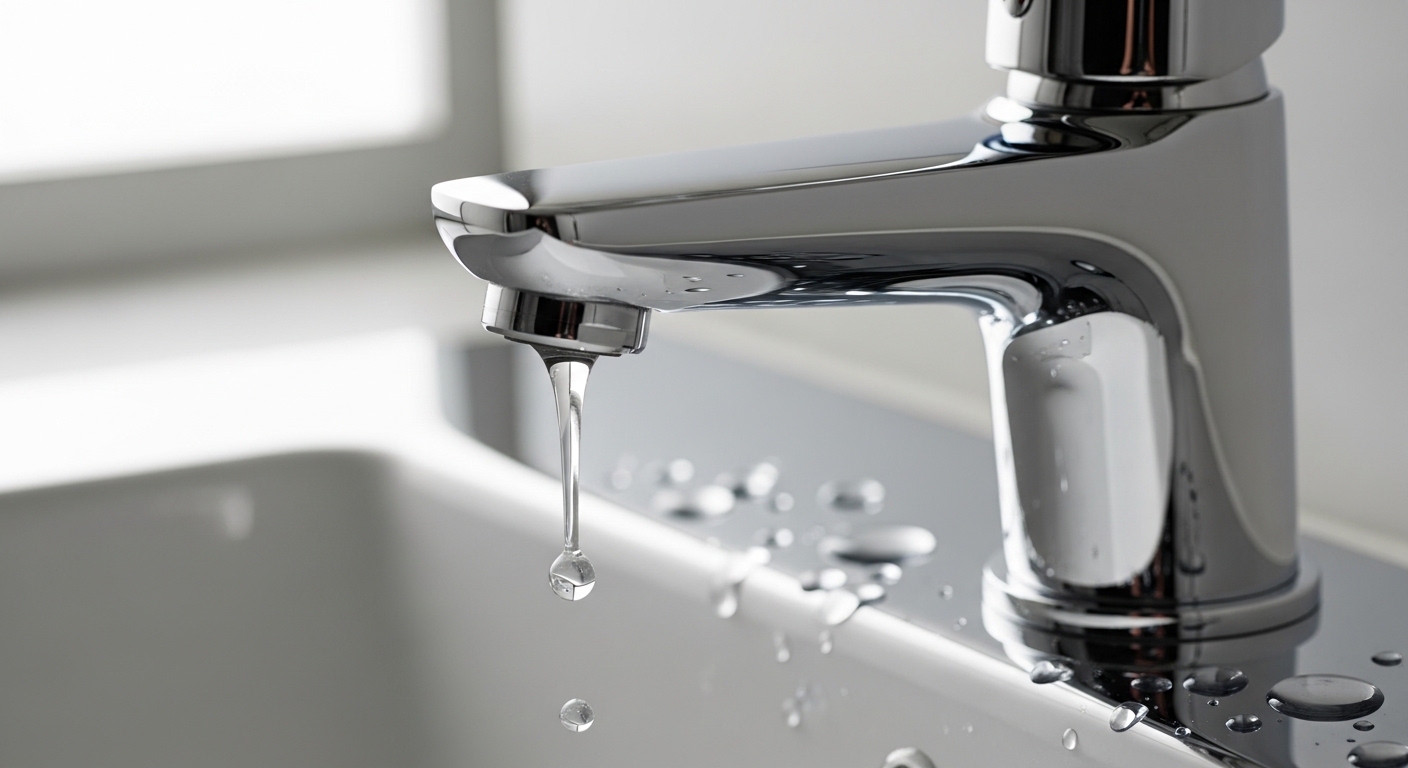
If you’ve got a leaking bathroom sink faucet handle — water seeping out from under the handle, pooling around the base every time you turn it on, or dripping down the back of the spout — take a breath. This is one of the most common and most fixable plumbing problems in any bathroom. It doesn’t mean your faucet is ruined, and it usually doesn’t mean water is destroying the cabinet below (though you should still check). It almost always means one small, cheap rubber or ceramic part inside the handle has worn out. Below, I’ll walk you through exactly what’s leaking, how to diagnose which part failed, and how to fix it step by step — the same way I’d explain it to a friend standing at their sink with a screwdriver.
Why is water leaking specifically from the handle and not the spout?
Water leaking from the handle (rather than dripping out the spout) means the seal between the moving handle stem and the fixed faucet body has failed. When water escapes at the spout, the seat or cartridge that shuts off flow is worn. When it escapes at the handle, the problem is the seals that keep pressurized water inside the valve while still letting the handle turn — usually the O-rings or the cartridge.
Here’s the mechanical picture. Every faucet handle sits on top of a valve — a cartridge, a ceramic disc, a compression stem, or a ball assembly. Pressurized water is constantly pushing against the bottom of that valve. A set of rubber O-rings (or a rubber packing washer on older faucets) hugs the moving part and blocks that water from creeping up past the handle. Over years of turning, that rubber hardens, cracks, or gets chewed up by mineral deposits from hard water. Once the seal opens even slightly, water is forced up the stem and out around the handle every time you turn on the tap. That’s your leak.
So the good news: the faucet body, the spout, and the finish are all fine. You’re replacing a $2–$15 seal, not a $150 fixture.
How do I tell which type of valve my faucet uses?
Look at how the handle moves, because the valve type decides which parts you buy. There are four common types in bathroom sink faucets:
- Cartridge — A single lever, or a two-handle faucet where each handle turns only a quarter to half turn with a smooth feel. Most common in faucets made after 2000. Fixed with a replacement cartridge and O-rings.
- Ceramic disc — A single lever that glides side to side and up and down with almost no resistance. Very durable; leaks usually come from the neoprene seals or a cracked disc.
- Compression — Two handles that keep turning (multiple full rotations) and get firm as you shut them off. Older design; fixed with a new stem washer, seat, and packing.
- Ball — Almost always a single-handle kitchen style, rare on bathroom sinks; uses a rotating ball with springs and rubber seats.
For a leaking bathroom sink faucet handle, cartridge and compression valves are by far the most likely culprits. If you have a Delta, Moen, Kohler, or Pfister, it’s very probably a cartridge or ceramic-disc design.
| Valve type | Handle feel | Likely leaking part | Typical part cost | DIY difficulty |
|---|---|---|---|---|
| Cartridge | ¼–½ turn, smooth | Cartridge + O-rings | $8–$25 | Easy |
| Ceramic disc | Glides, no resistance | Neoprene seals / disc | $10–$30 | Easy–Moderate |
| Compression | Multiple turns, firm stop | Stem washer, seat, packing | $3–$10 | Easy |
| Ball | Single lever, loose feel | Springs, seats, cam | $15–$25 (kit) | Moderate |
What causes a bathroom faucet handle to start leaking in the first place?
The number one cause is a worn or dried-out O-ring, followed by mineral buildup from hard water and a simple loose packing nut. None of these are your fault, and all three are normal wear.
Let me break down the real-world reasons I see most often:
- Aged O-rings. Rubber O-rings are consumables. After 5–10 years they harden and lose their squeeze. This is the single most common reason for a leaking bathroom sink faucet handle.
- Hard-water scale. Calcium and magnesium deposits build up on the cartridge and inside the valve body, scoring the seals and preventing them from sealing. If your area has hard water, expect this sooner.
- A loose packing nut or bonnet nut. On some faucets the nut that holds the cartridge or stem can vibrate loose over time. Sometimes the “repair” is literally tightening it a quarter turn.
- A cracked cartridge. Cheap or old cartridges crack, especially after a freeze or from over-tightening. When the cartridge body splits, water bypasses every seal.
- Grit in the water line. A tiny piece of debris — common after municipal work — can lodge against a seal and hold it open.
How do I fix a leaking bathroom sink faucet handle step by step?
You fix it by shutting off the water, removing the handle, pulling out the worn cartridge or stem, replacing the O-rings or the whole cartridge, and reassembling. Here’s the full sequence — plan on 30–60 minutes the first time.
- Shut off the water. Turn the two shutoff valves under the sink clockwise until they stop. No shutoffs? Close the main water valve for the house. Then open the faucet to release pressure and confirm the water is truly off.
- Plug the drain. Drop in the stopper or a rag so you don’t lose the tiny set screw down the drain. This one step saves a lot of grief.
- Remove the handle. Pop off the decorative cap (often a hot/cold button) with a flathead. Under it is a set screw — usually a small hex/Allen screw. Loosen it and lift the handle straight up. If it’s stuck from scale, wiggle gently; don’t pry hard against the finish.
- Remove the retaining nut and clip. You’ll see a threaded bonnet nut or a horseshoe-shaped brass retaining clip holding the cartridge in. Pull the clip with needle-nose pliers, or unscrew the nut with a wrench.
- Pull the cartridge. Grip the cartridge stem and pull straight up. Corroded ones stick — a cartridge puller tool (about $10, or brand-specific like Moen’s 104421) makes this painless. Note the orientation before it comes out.
- Inspect and replace. Look at the O-rings and the cartridge. If the O-rings are flat, cracked, or brittle, replace them. If the cartridge body is scored or cracked, replace the whole cartridge. When in doubt, replace both — you’re already in there.
- Clean the valve body. Wipe out scale with a rag; a little white vinegar dissolves stubborn calcium. Smear food-grade silicone plumber’s grease on the new O-rings before installing.
- Reassemble in reverse. Seat the new cartridge in the same orientation, replace the clip/nut, refit the handle, and snug the set screw.
- Turn water back on slowly. Open the shutoffs gradually and watch the handle. Run hot and cold, cycle the handle a few times, and check for any weeping at the base.
Match the replacement part to your brand and model. Delta, Moen, Kohler, and Pfister each use proprietary cartridges, and many are covered by a lifetime warranty — so you can often get the replacement cartridge free from the manufacturer if you have the model number. If you’re on a Delta, our guide to the right Delta faucet cartridge replacement parts and how to swap them yourself walks through the exact part numbers and the quirks of Delta’s clip-and-cartridge system.
What tools and parts do I actually need?
You need surprisingly little — most fixes use tools you already own. Here’s the short list:
- Allen/hex key set (for the handle set screw)
- Adjustable wrench or channel-lock pliers
- Needle-nose pliers (for the retaining clip)
- Flathead screwdriver (for the cap)
- Replacement O-rings or cartridge for your specific model
- Food-grade silicone plumber’s grease
- White vinegar and a rag for descaling
- Optional: a brand-specific cartridge puller
Can I just tighten the handle instead of replacing anything?
Sometimes, yes — if the leak is minor and the packing nut is simply loose, snugging it a quarter to half turn can stop the weep. But don’t over-tighten, and treat this as a temporary test, not a real repair. If tightening stops the leak for a day and it returns, the seals are worn and you’re back to replacing the O-rings or cartridge.
On older compression faucets specifically, the fix is often the packing nut plus a fresh packing washer or a wrap of Teflon packing string around the stem under the nut. That’s a legitimate 10-minute repair. But if you’re chasing the same leak every few weeks, stop patching it and replace the stem washer and seat — you’ll save yourself repeated trips under the sink.
When should I replace the whole faucet instead of repairing the handle?
Repair the handle if the faucet is under ~10 years old, the finish still looks good, and parts are available. Replace the whole faucet if the body is cracked, the finish is flaking, parts are discontinued, or you’ve already rebuilt it twice. A repair costs $5–$25 in parts; a mid-range replacement faucet runs $80–$250.
Here’s my honest rule of thumb. A quality faucet is worth repairing many times over — a good cartridge faucet can outlast three sets of O-rings. But a bargain-bin faucet with a corroding zinc body and non-standard cartridge is often not worth the hunt for parts. That’s exactly why buying a solid fixture up front pays off, a point our team makes in this candid piece on why you should never buy cheap bathroom fixtures. If you do decide to swap the faucet, it’s a very approachable weekend job — our guide to installing a bathroom vanity faucet yourself in under two hours covers the whole process.
How much does it cost to fix vs. pay a plumber?
DIY parts cost $5–$25. A plumber typically charges $100–$250 for a faucet handle or cartridge repair, most of which is the minimum service call and labor. So if you’re comfortable with a wrench, this is a high-value DIY. If you’d rather not touch it — or the shutoff valves themselves are seized — hiring out is reasonable; see our breakdown of what a plumber charges for bathroom faucet work in 2026 so you know a fair quote when you hear one.
| Fix option | Typical cost | Time | Best when |
|---|---|---|---|
| Tighten packing nut | $0 | 10 min | Leak is minor and nut is loose |
| Replace O-rings | $3–$10 | 30 min | Handle weeps, cartridge is intact |
| Replace cartridge | $8–$25 | 45 min | Cartridge cracked or scored |
| Call a plumber | $100–$250 | 1 visit | Seized valves or no DIY comfort |
| Replace whole faucet | $80–$250+ | 1–2 hrs | Body cracked, parts discontinued |
How do I stop it from leaking again?
Grease the new O-rings, don’t crank the handle shut, and address hard water. Those three habits are what separate a fix that lasts a decade from one that fails in a year.
Specifically: always coat new seals with silicone plumber’s grease so they glide instead of tearing. Teach everyone in the house that a cartridge or ceramic-disc faucet only needs a gentle turn — white-knuckling the handle shut grinds the seals. And if your water leaves white crust on the fixtures, you have hard water; a whole-house softener or periodic vinegar descaling of the aerator and cartridge dramatically extends seal life. Choosing a faucet from a reputable brand with a good cartridge helps too — if you’re weighing options, our comparison of Delta vs. Kohler sink faucets looks closely at how each brand’s valve holds up over time.
FAQ
Is a leaking faucet handle an emergency?
No, a handle leak is not an emergency as long as the water is contained and not flooding the cabinet. It wastes a little water and can eventually stain the deck, so fix it within a week or two. If water is running down into the vanity or you can’t stop it, shut off the supply valves and address it right away.
Why does my faucet handle only leak when I turn the water on?
Because turning the handle pressurizes the valve, and the worn seal only fails under that pressure. At rest there’s no flow pushing against the O-rings, so it looks dry; the moment you open the tap, water is forced up past the failed seal and out around the handle. This pattern almost always points to worn O-rings or a cracked cartridge.
Can hard water really wreck my faucet cartridge?
Yes. Calcium and magnesium in hard water form scale that scores the cartridge and holds the seals slightly open, which is a leading cause of handle leaks. Descaling the cartridge with white vinegar and softening your water are the two best defenses. In hard-water homes, cartridges may need replacing every 3–5 years instead of 8–10.
Do I need to replace both handles if only one leaks?
No — replace only the side that leaks. On a two-handle faucet the hot and cold sides use separate cartridges or stems that wear independently. That said, if both are the same age and one has failed, buying a matching pair and doing both while you’re set up is cheap insurance against a repeat trip.
How do I find the right cartridge for my faucet?
Match it by the faucet brand and model number, which is usually stamped under the spout, on the original paperwork, or findable by the faucet’s collection name. Bring the old cartridge to the store to match the length, stem shape, and clip style. Many brands like Moen and Delta offer a lifetime warranty and will mail you the correct cartridge free if you contact them with the model.
Why is my faucet handle still leaking after I replaced the cartridge?
Usually because the cartridge is seated in the wrong orientation, the retaining clip isn’t fully engaged, or an old O-ring in the valve body was left in place. Pull it apart, confirm the cartridge is aligned exactly as the old one was, make sure every O-ring is new and greased, and check that the clip clicks fully home. If it still weeps, the valve body itself may be scored, which means a new faucet.
About the author: This guide was written by the wigafaucet fixtures team — plumbing product specialists who spec, install, and pressure-test bathroom and kitchen faucets every week. We’ve rebuilt hundreds of leaking handles across Delta, Moen, Kohler, and Pfister valves. At wigafaucet.com we test fixtures against standard supply pressures and reference ASME A112.18.1/NSF 61 faucet standards and manufacturer warranty terms so our repair advice reflects how these valves actually fail and how the warranties actually work. When we say a part is covered, we’ve read the warranty.